6-Month Arduino & Electronics Learning Plan

Your path from beginner to robotics expert

Month 1: Fundamentals of Electronics and Arduino Programming

Introduction to Arduino and Basic Electronics

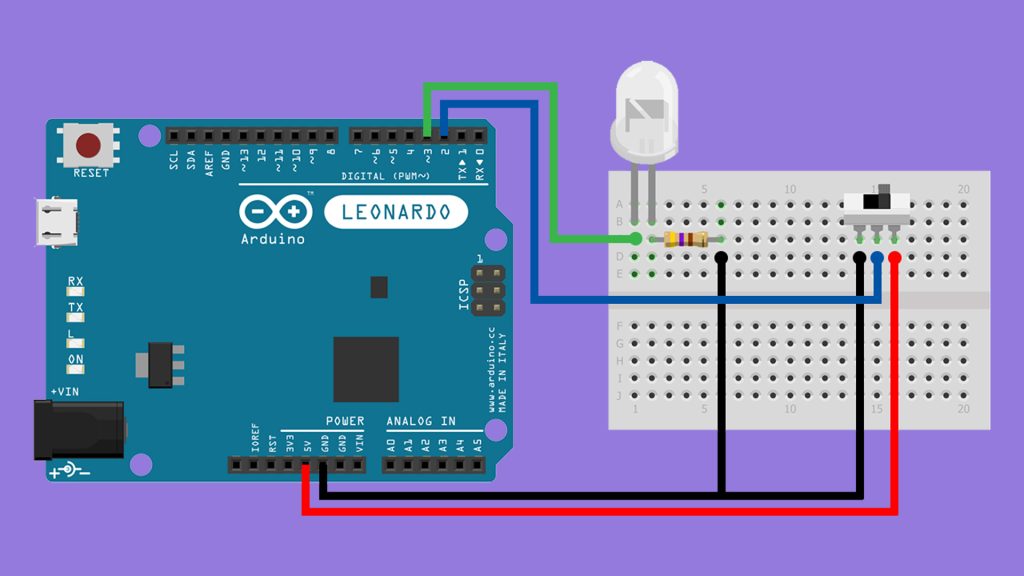
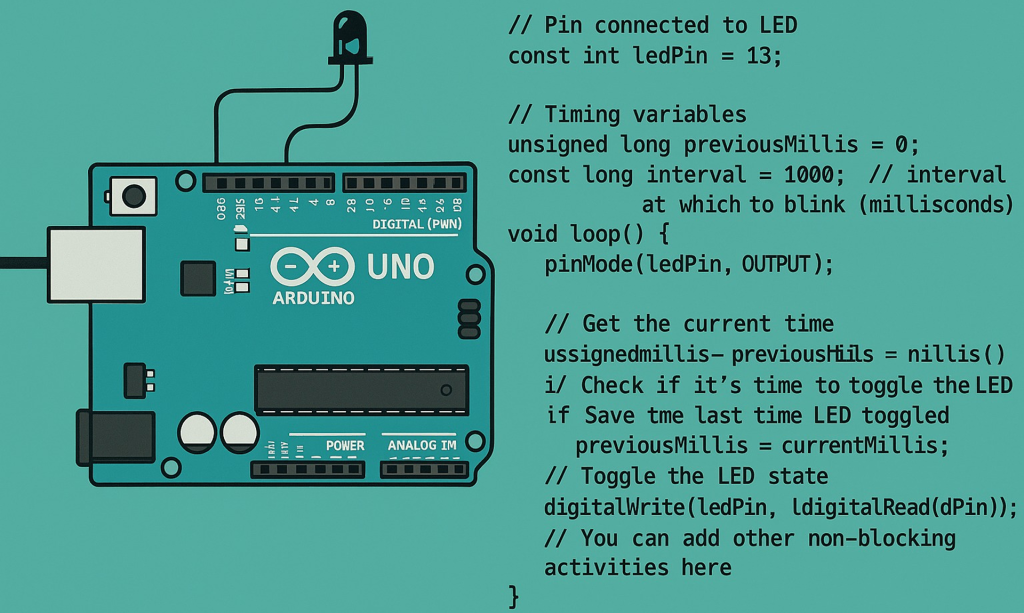
Learn the foundations of electronics including voltage, current, resistance, and Ohm’s Law. Get familiar with essential components like resistors and LEDs. Setup your Arduino IDE and run your first blink program to control LEDs.

LED Patterns & Custom Functions

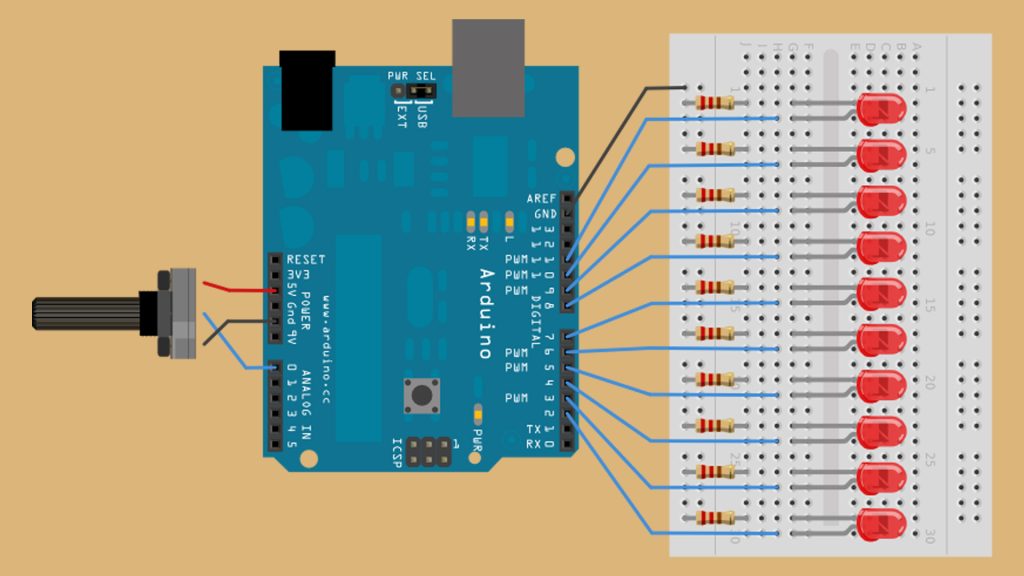
Use multiple digital pins to create eye-catching LED patterns such as the Knight Rider effect. Learn to write and use your own custom functions to keep your code clean and reusable.

Reading Digital Input (Push Button)

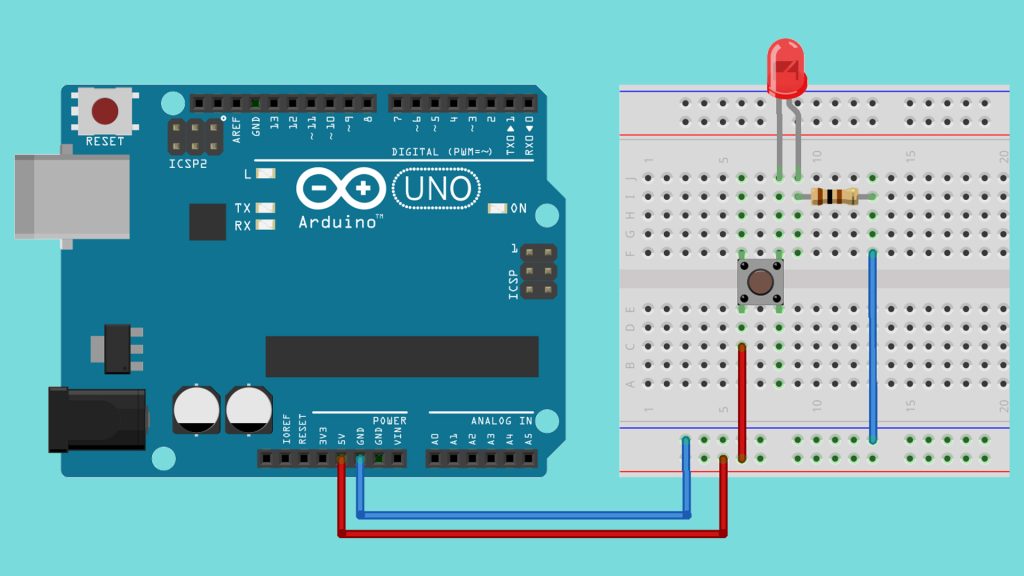
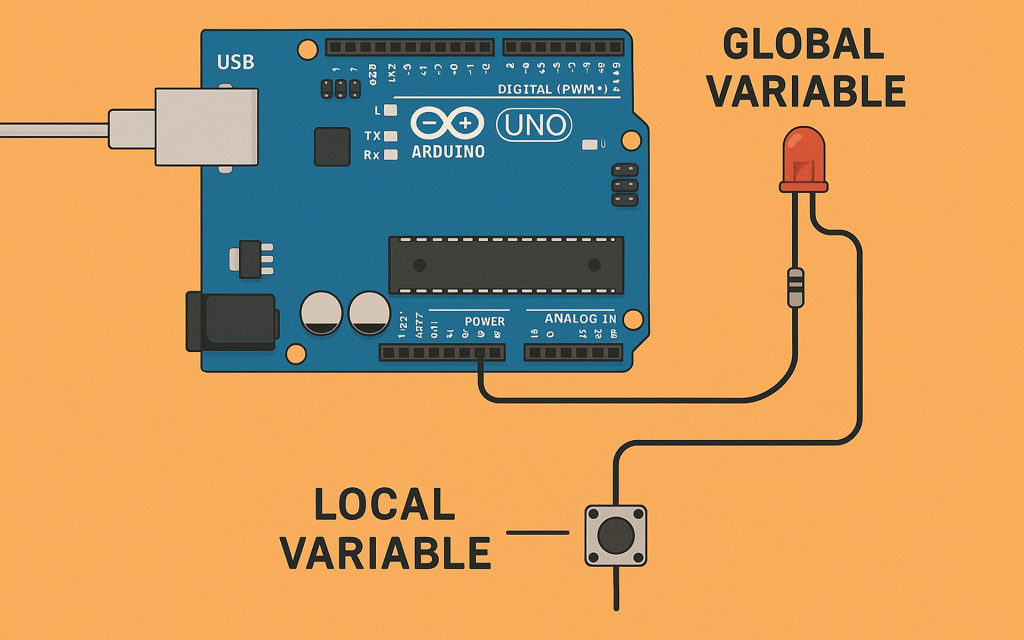
Explore digital inputs by connecting push buttons. Use digitalRead and internal pull-up resistors to detect button presses and practice simple logic with if/else statements. Learn basic debounce techniques for stable button input

Debugging with Serial Monitor

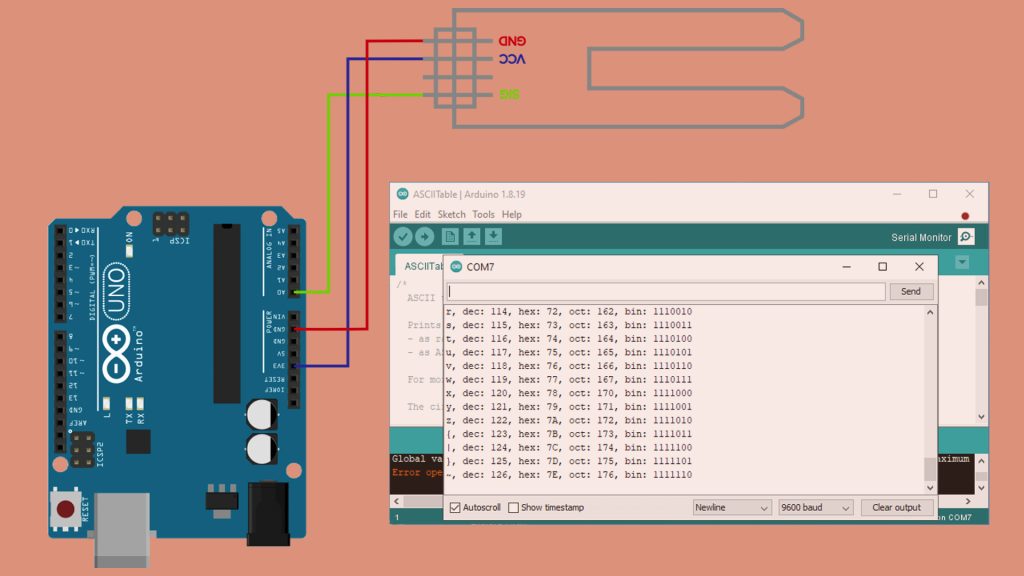
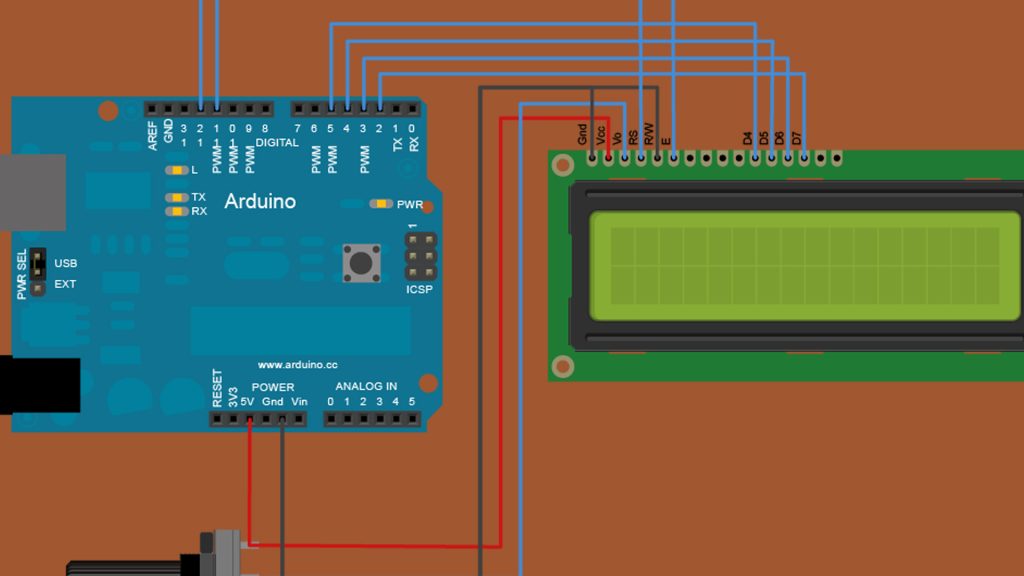
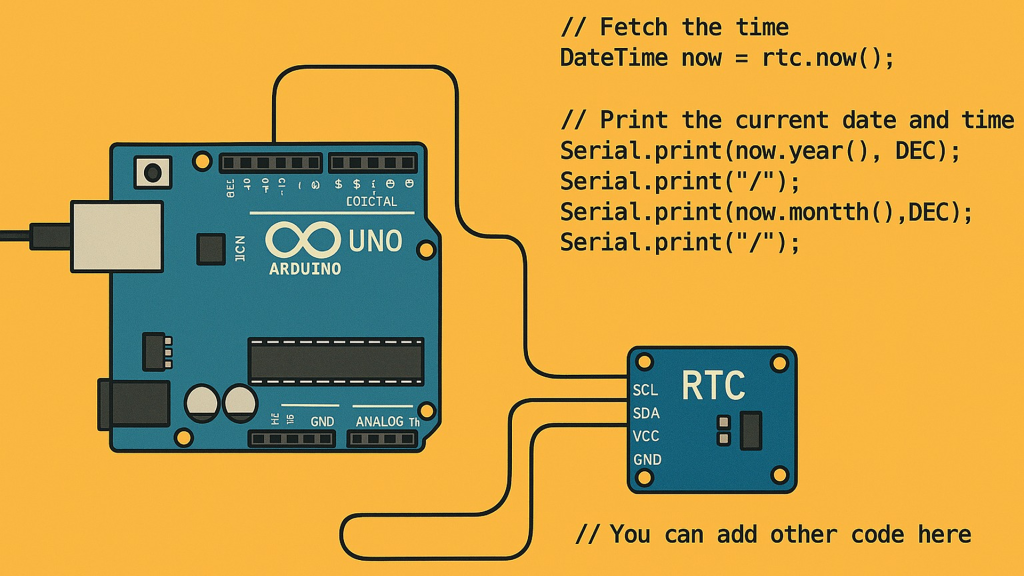
Master debugging skills by using Serial.print() to view sensor and button states. Combine input and output from previous weeks to build interactive projects with feedback.

Month 2: Working with Sensors and Displays

Button Status & Logical Activity

Use button states to control LEDs and trigger different logical actions. Develop interactive user interfaces through button inputs.

Ultrasonic Sensor & Distance Measurement

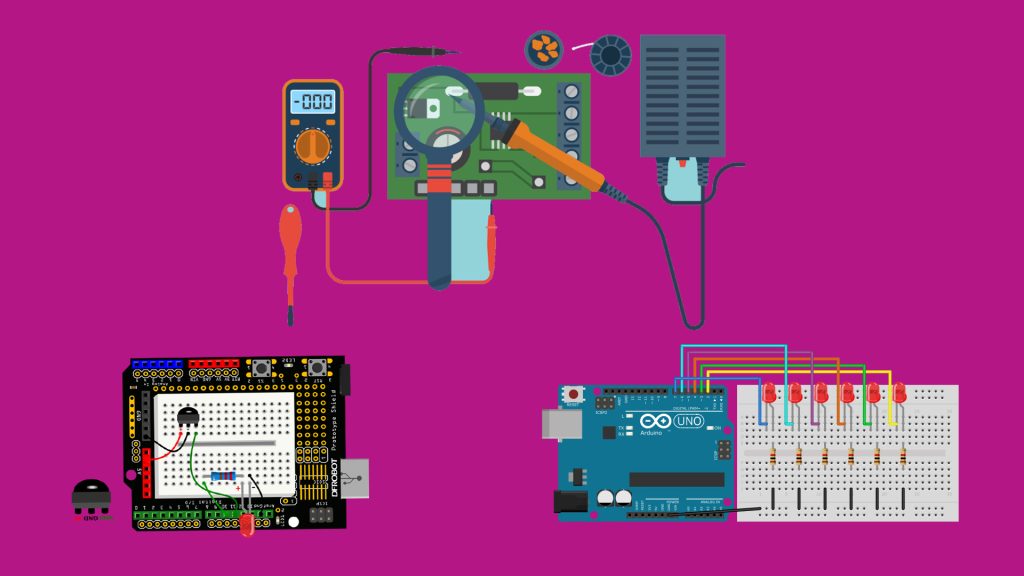
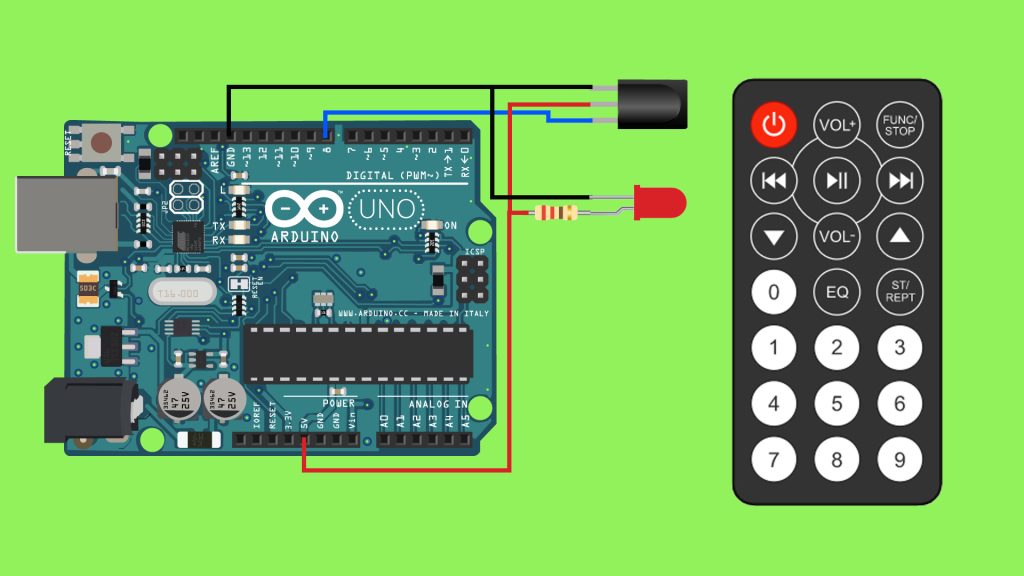
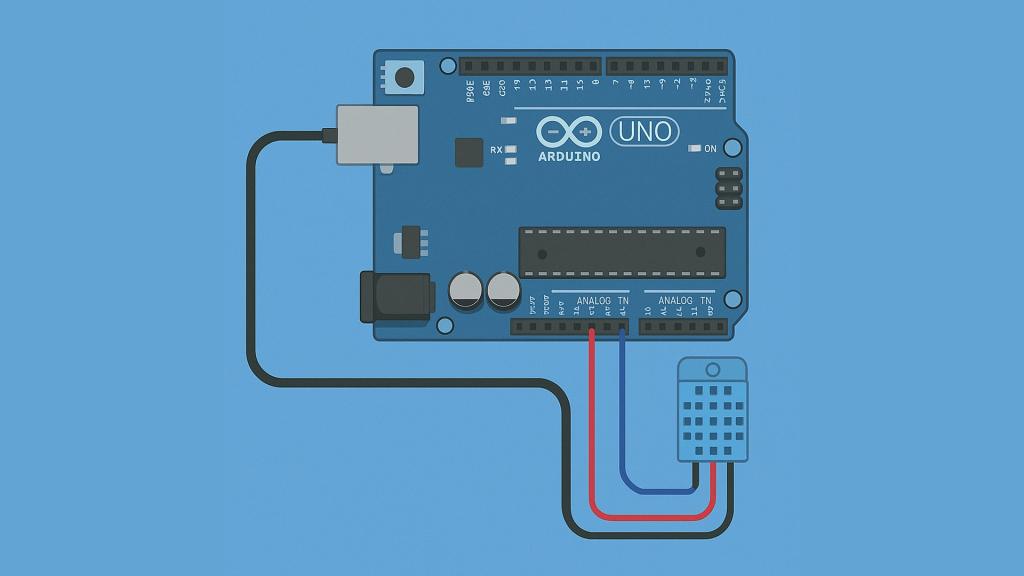
Understand the principle of ultrasonic waves and how the HC-SR04 sensor measures distance. Learn to solder sensor wires and test your distance measurement setup.

I2C Display Basics

Interface an I2C LCD display to your Arduino. Use libraries to easily display sensor data and text, enhancing your project’s interactivity.

Relay & AC Load Safety

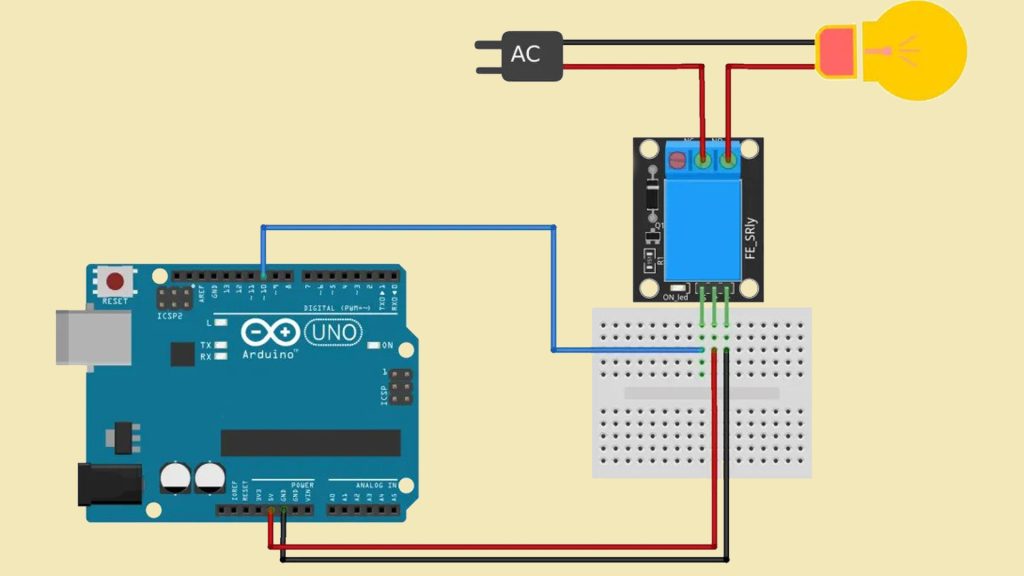
Learn how relays work and how to switch high voltage AC loads safely using a 5V relay module. Understand the essential safety precautions when dealing with AC circuits.

Month 3: Advanced Input/Output and Environmental Monitoring

IR Remote & PWM Output

Use an IR receiver and IRremote library to control LEDs wirelessly. Learn to adjust LED brightness smoothly using analogWrite() with an LDR sensor.

Servo Motor & Potentiometer Mapping

Control a servo motor’s position by mapping potentiometer readings with the map() function. Build precise mechanical control projects.

4x4 Keypad Input

Interface a 4×4 keypad to Arduino and read input characters. Display the input on LCD or Serial Monitor for interactive input projects.

DHT11: Temperature & Humidity

Use the DHT11 sensor with its library to monitor environmental temperature and humidity. Create activities that respond to sensor thresholds.

Month 4: Timing, Memory, and Language Fundamentals

millis() for Timed Events

Learn to use millis() for non-blocking timing to run events asynchronously. Practice timing button presses and creating more responsive code.

Real-Time Clock (RTC DS3231)

Connect and configure the DS3231 RTC module to display accurate date and time, enabling time-based functions in your projects.

Global vs Local Variables & for Loop

Understand the scope of variables in Arduino sketches. Use loops combined with button inputs to simplify repetitive tasks.

DHT11: Temperature & Humidity

Use the DHT11 sensor with its library to monitor environmental temperature and humidity. Create activities that respond to sensor thresholds.

Month 5: Robotic Applications

Building a 3-Wheel Robot

Assemble your robot chassis and connect the L298 motor driver to control motors. Start building your first mobile robot.

Line Following Robot

Use IR sensors to detect and follow black lines. Calibrate sensor readings and debug your line-following logic.

Bluetooth-Controlled Robot

Interface the HC-05 Bluetooth module to control your robot wirelessly via an Android app or serial terminal.

Obstacle Avoidance Robot

Combine ultrasonic sensors and servo motors to detect and avoid obstacles, enhancing your robot’s autonomy.

Month 6: Capstone Project Development & Presentation

Final Project - Planning & Start

Choose your project theme such as smart home or monitoring systems. Begin prototyping your ideas into physical form.

Final Project - Development

Build the core logic and circuitry of your project. Implement features learned throughout the course.

Final Project - Testing & Improvements

Test your code and hardware carefully. Troubleshoot issues and add final enhancements for a polished project.

Final Presentation

Demonstrate your project and explain your design choices. Answer questions and receive feedback to celebrate your achievement.

Open chat
Hello, Welcome to Makerspace.lk
How Can We help You? Chat With us on WhatsApp to get Assistance!